My interest in hostas began with an inspiring podcast from Margaret Roach and a chance encounter with a sum and substance with a fragrant bloom at my local nursery, which I wrote about here and here and here. (I’m surprised it’s been four years since I’ve planted it!). Over those four years, it’s weathered drought while I was traveling during the heat of the summer and an early season hailstorm that pulverized the tender leaves. I’d like to dig it up this fall and propagate it into a movable container. I won’t live here forever, and I want to be able to take that puppy with my when I go.
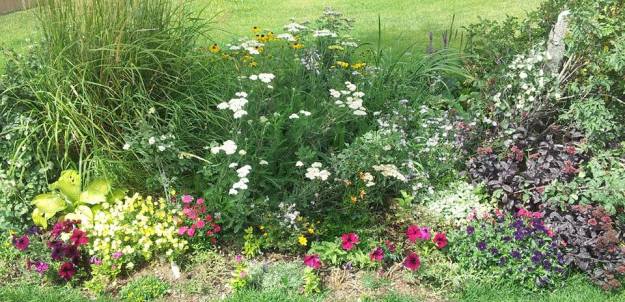
But, so, on to the newest hosta developments in my life. Last summer I bought three unremarkable hostas and used them to fill in flowerbed space. You can see one of the hostas pictured in last year’s flowerbed:

hosta, bottom left
The one pictured above is a medium-sized hosta with lightweight, light green leaves–similar to sum and substance in color and texture, but much smaller. Another is medium in size and variegated, green with yellowish green border (american halo). I wanted to move it because you can’t see it where I planted it in the flowerbed (pictured/not pictured above). Both of these were pulverized by slugs and/or grasshoppers over the summer, but everything survived/is surviving.
The other is a small variety with leathery leaves (labeled elegans, but I think it’s actually a halcyon because it’s much smaller), pictured here:

hosta elegans (or halcyon)
Since I’ve got lots of flowerbed space to fill, and I don’t want to spend money on a lot of new plants, I decided to try to propagate all three of these hostas for the first time. Here are some factors: I’ve never propagated hostas before, they’ve only been in the ground for one season, and two of the varieties were severely damaged by bugs.
If you’re propagating hostas for the first time, you can learn from me!
1. Propagate the hosta in the fall before it starts to fade, but well before the first frost of the season. This will allow it to readjust before winter hits. I’m in zone three, and the winters here are bitter. So, I completed the process in early August. (Incidentally, this is also before my work schedule gets to crazy and gardening falls by the wayside.)
2. Dig a deep, wide hole around the hosta, but nothing too crazy. In reading up on how to propagate hostas, I was astounded to read about the root mass these plants have. Two times the width and depth of the plant! Look, in reality, I didn’t find these particularly challenging to dig up. I didn’t put the spade in all that far away from the plant, and yes, I’m sure I accidentally broke off plenty of root system, but there was still plenty to work with in dividing the plants. For your reference, here’s a picture of the root system of the first hosta I dug up:

hosta root system
3. Divide the plants. I started off by finding logical divisions in the plant and gently, slowly, steadily, and sometimes really firmly pulling (sometimes tearing) them apart. In doing so, I accidentally broke off a few chunks with very little root system. Though I don’t have much hope for their survival, I planted them anyway. I read that I might need an ax, a saw, a knife, anything sharp and sturdy, but these plants are relatively small, and I found it easiest to gently work the dirt away from the root system and then separate the plants with my hands from the bottom of the root (opposed to holding on to the plant and putting). Even though you can easily see the separate stems from the top, surprisingly, I found it easier to divide the plant by holding on to the root system and tearing upwards toward the plant in areas where it naturally seemed to spit. This allowed for much less leaf breakage and a more natural division of the plant.
4. Plant the hostas. Dig new holes to accommodate the newly divided hostas. I tossed in a little fertilizer and spaced everything at least a foot apart. That’s a little on the close side for some of these varieties, but I want it to look relatively full next year (which, I know, is a lofty and possibly unrealistic goal to have the first season after plants are divided). Sprinkle with more fertilizer and water into place.
5. Finally, prune. Cut off any of the leaves that were damaged or broken in the process. I bent several leaves in the propagation process, and so I just cut those off. I also cut away some of the leaves that had been most damaged by insects. I left a few leaves to help the plant absorb sunlight for the next few weeks as it adjusts to the new division. In about a month (hopefully a few weeks before the first of the bad frosts), I’ll cut back all leaves entirely.
As you can see here, I’ve turned three little hosta plants into a new little hosta garden. I transplanted all three into a new area. They are looking pretty ragged right now, but should start to be more presentable when they come up again next spring. Summer 2019 should be amazing…that is unless the bugs continue their raid and I continue to dig them up to divide and expand my hosta garden!

newly propagated hosta garden